Tag

software

The FreeStyle Libre Flash Glucose Monitoring System: Getting Started on My New Health Plan

By Health, Technology, Thinking9 Comments

Hello all,

I’m a type 1 diabetic who has always struggled to have good control of my blood sugars.

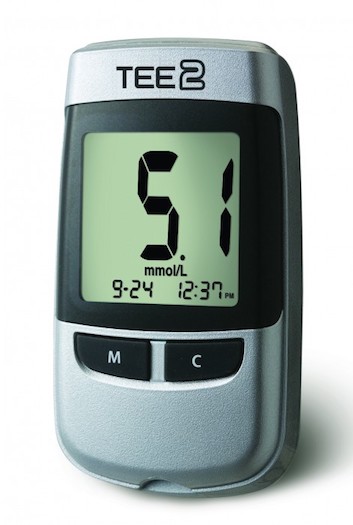
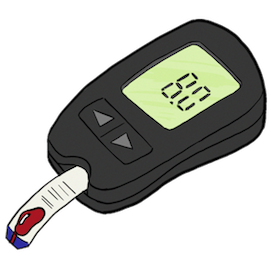
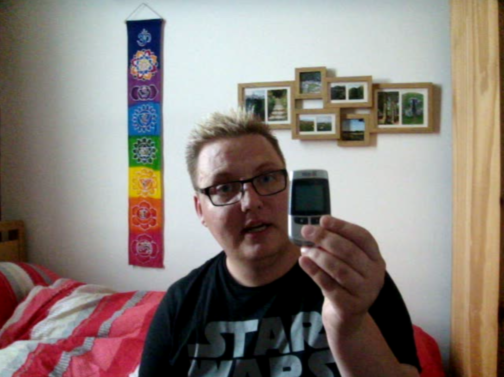
I’ve been using a traditional glucose meter (a TEE2). Every diabetic will have a glucose meter. The meter tells the tester what their blood sugar is at the time that the reading is taken.

freestyle-libre-TEE2-blood-glucose-meter-1

My traditional glucose meter the TEE2 by Spirit Healthcare Ltd.

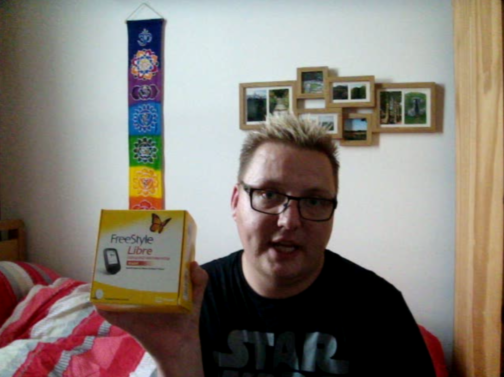
Nothing had really changed in the management or treatment of my diabetes for the last decade. That was until just over a week ago. It started when I saw this photo in the media:

freestyle-libre-theresa-may-with-donald-trump-2

I saw this photo of Theresa May (the current Prime Minister) who is Type 1 diabetic. I wondered what it was on her arm. (I’ve added on the circle and arrow on to the photo.)

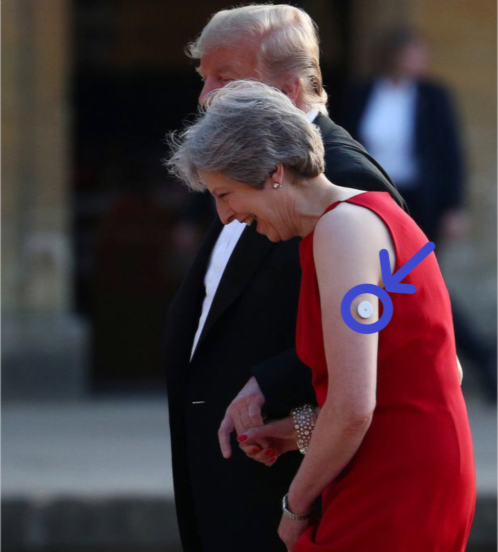
I posted the photo on Facebook and asked if anyone knew what it was. I quickly learned that it was a sensor for the FreeStyle Libre Glucose Monitoring System.

freestyle-libre-flash-glucose-sensor-and-reader-0

The FreeStyle Libre Sensor (left) and Reader (right).

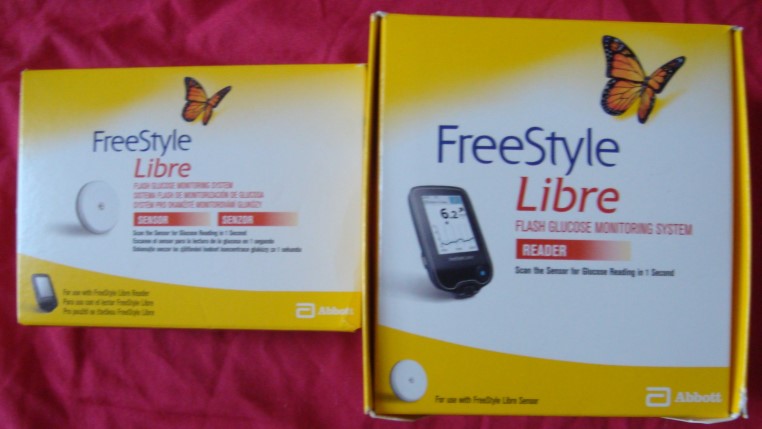
The FreeStyle Libre Glucose Monitoring System is a revolutionary and life changing way to monitor blood sugars for diabetics.

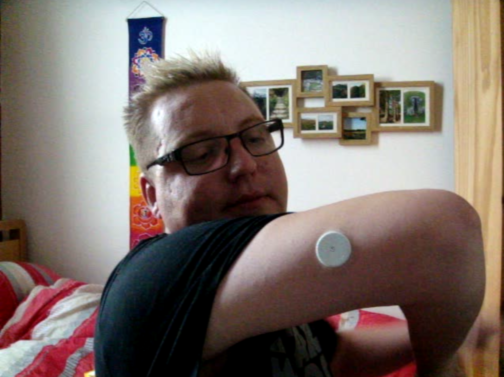
A sensor that has a needle that goes into the interstitial fluid is placed on the back of an arm. The sensor on the skin is about the size of a two pound coin. The sensor takes a reading every minute and stores readings at 15 minute intervals. The sensor can store 8 hours of data. A sensor lasts 14 days.

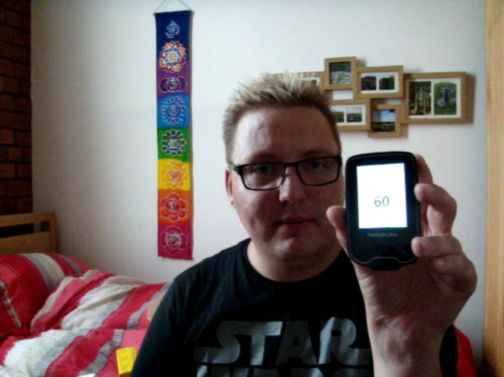
A Reader downloads data from the sensor, including the most current blood sugar reading by placing the reader near the sensor (using Fear Field Communication (NFC)). You don’t even need a Reader if you have a phone with NFC. You can download an App available for both Android and Apple smartphones that allows you to use your phone as a reader. I haven’t got a phone with NFC, so would need a reader.

mental-health-wisdom-banner

So I did some research. I read the entire FreeStyle Libre website including watching tutorial videos and FAQs. Then I read some posts on the Diabetes UK Forums. I watched every video about the FreeStyle Libre on YouTube.

I discovered that in November of last year (2017) the FreeStyle Libre became available on the NHS. However from reading the forums it seemed that availability depended on local criteria.

I decided I needed to trial the FreeStyle Libre as part of a new health plan to improve my health and prevent illness where possible.

freestyle-libre-senor-box-3

I managed to buy two sensors at my local Boots Pharmacy. A sensor cost more than £50 each. This was because I thought I’d probably have to self-fund due to the cost to the NHS.

freestyle-libre-reader-box-4

But I couldn’t buy a Reader anywhere. I rang my local Diabetes Specialists Centre. Their criteria for starting me on the FreeStlye Libre is: 1. is type one diabetic and 2. testing blood sugar 6-10 times a day. I met the criteria so they sorted me out with a Reader.

The Diabetic Specialist Nurse at my local Diabetes Centre was amazing. She sorted me a Reader. I saw the Diabetic Consultant in January and have been awaiting an appointment with a Dietitian. She said she’d chase this.

The Diabetic Specialist Nurse and I also arranged an appointment together in a few weeks time. This is so I can give her an update on my use of the FreeStyle Libre and so that she could write to my GP about putting the sensors on prescription. She informed me that if there was no improvement in my blood sugar control after 6 months, that my GP may choose to stop prescribing the sensors.

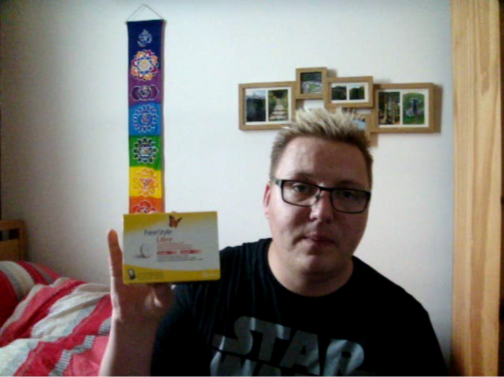
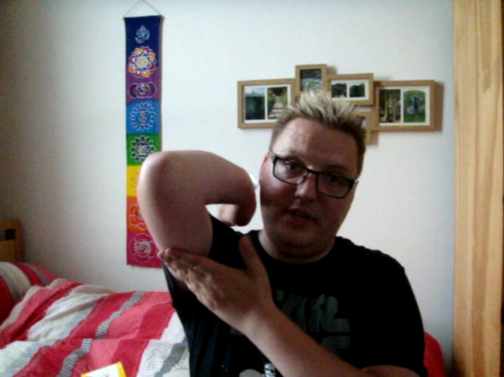
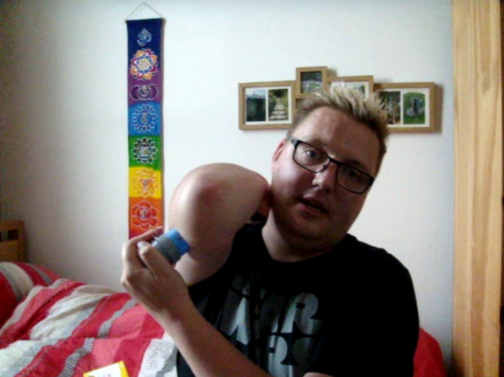
Excited I put on the sensor:

freestyle-libre-sensor-position-5

The sensor should be placed on the back of the arm. Start by cleaning with a pre-injection swab (provided with the sensor).

freestyle-libre-putting-on-the-sensor-6

The sensor is assembled by pulling off the lid of the white tub, then matching up the gray lines and pressing down. Really easy and simple.

freestyle-libre-putting-on-the-sensor-2-7

Place to your skin and press down. It’s painless and makes a clicking sound.

freestyle-libre-sensor-on-8

There it is. Sensor on.

freestyle-libre-dressing-8

I’ve chosen to put a 10cmx10cm dressing on my sensor to better protect it.

freestyle-libre-all-set-up-9

All set up. Quick, easy and simple. I’ll let you know how I go on.

mental-health-wisdom-banner

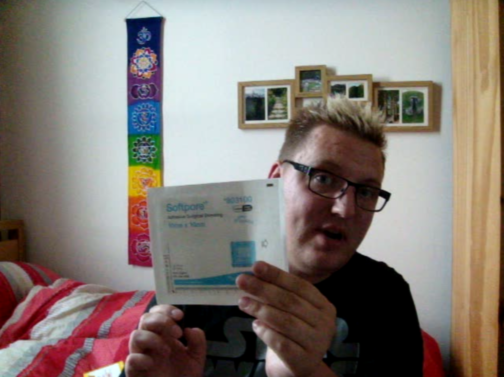
I’ve been wearing the sensor and using the reader for a few days now. So here’s the pros and cons I’ve discovered so far:

Pros Cons
  • The sensor isn’t noticed by others being on the back of my arm (covered even by short sleeves).
  • I don’t feel the sensor in my arm at all. No discomfort or pain.
  • The reader is pocked sized.
  • It’s quick and easy. A quick swipe and you have your current blood sugar along with a line graph showing your blood sugar throughout the day (and night) from readings the sensor has taken.
  • It’s more discrete swiping the reader near your arm, rather than getting out your glucose meter and pricking your finger.
  • I can check my blood sugar as often as I want, without worrying about running out of testing strips.
  • The reader has a whole host of useful features including: reading alarm reminders, logbook, daily graph, average glucose, daily patterns, time in target glucose range (which you set when you setup the reader), sensor usage, add notes to go with readings (including units of rapid-acting insulin, units of long-acting insulin, food – carbs, medicine and exercise).
  • It tells you how many days you have before you need to change the senor on the home screen.
  • The daily graph along with arrows showing whether your blood sugar is increasing (and how quickly), stable or decreasing (and how quickly) are enabling me to make better bolus insulin adjustments. The food notes will enable me to better match the number of rapid insulin units I need to administer based on the number carbs I’ve eaten.
  • The reader is helping me to identify trends in my blood sugars and helping me prevent my blood sugar from rising too high.
  • FreeStyle have software for both Windows on Mac that uses the data to create reports that you can share with Health Professionals.
  • If you have a phone with NFC you can use an App on your phone rather than using the reader. The Apps appear to have all the same features as the Reader.
  • The reader comes with with a USB wire (for connecting to computers) and has a plug to charge it from mains. According to the manufacturer, a full charge lasts about a week with average use.
  • The sensor takes the reading from interstitial fluid rather than blood. This means that the reading is 10-15 mins behind. This is not an issue if your blood sugar is stable, but could be an issue if it’s dropping.
  • The reader feels a little flimsy and doesn’t come with any cover or pouch to protect it from damage and general wear and tear.
  • The DVLA don’t currently allow readings from this monitor to count as a before driving test. Therefore a traditional glucose meter and finger pricking is still required prior to driving.
  • The sensors are expensive, costing over £50 each. This is a Con whether you are paying for them privately or whether the NHS is being charged for them (as we pay for the NHS through our taxes).

I was going to do this blog posts as a vlog (video blog). But I couldn’t get my head around the video editing software, so opted for the written method instead. That’s why the photos of me look like image captures from a video, because they are.

The FreeStyle Libre Glucose Monitoring System is just one part of my new health plan. I also want to become SmokeFree for good and lose weight through a better diet and regular exercise.

Write soon,

Antony


I aim for posts on this blog to be informative, educational and entertaining. If you have found this post useful or enjoyable, please consider making a contribution by Paypal:


Share on Social Media:

Wonderful Websites – Technology

By Technology, The Web, ThinkingNo Comments
wonderful-websites-image This is the tenth blog post in a series titled Wonderful Websites. The first focused on general health and can be read here. The second focused on mental health and mental illness and can be read here.

The third post focused on shopping and can be read here. The fourth focused on money and can be read here.

The fifth focused on gigs, shows and theatres and can be read here. The sixth focused on paganism and can be read here.

The seventh focused on gay culture and society and can be read here. The eighth focused on TV, Online Streaming & Films and can be read here.

The ninth focused on music & radio and can be read here.

Here’s Wonderful Websites for music & radio:

1. WIRED – Is the website for WIRED magazine. It has some great content around technology, science, culture, gear, business, politics and more.

2. ZDNet – Has everything technology. It includes sections on hardware and software. On Microsoft and Apple.

3. How-To Geek – I love that this website explains everything about technology simply. I like their daily tech term explained section as well as the simple design of their website.

4. Tech Radar – I like this website for its reviews of all things technology.

5. Engadget – Has the odd good article on.

6. C|Net – Has a lot of great content, but the amount of advertising can be off-putting.

Are there any technology websites that you think are useful that aren’t on the list? If so leave a comment below and let me know.

In the next and final post in my Wonderful Websites series I will list great websites about Asperger’s Syndrome and Autism.

Blog soon,

Antony

mental-health-wisdom-banner


I aim for posts on this blog to be informative, educational and entertaining. If you have found this post useful or enjoyable, please consider making a contribution by Paypal:


Share on Social Media:

Health Tech Review: TEE2 Glucose Meter by Spirit Healthcare

By Health, Reviews2 Comments
TEE2-glucose-meter-by-spirit-healthcare

Image of the TEE2 Glucose Meter by Spirit Healthcare. Image From & Copyright © Spirit Healthcare.

I’ve been a Type 1 diabetic for a decade. You can read my story of how I was diagnosed with diabetes here.

I’ve used various glucose meters, but they’ve all essentially done the same job. Around 6 months ago I was switched TEE2 Glucose Meter by Spirit Healthcare by my GP. Here are the Pros and Cons of the TEE2 Glucose Meter:

Pros

  • It’s easy to use.
  • It meets the latest coding standards.
  • No coding is required.
  • The customer support is brilliant and really responsive. You can telephone a freephone number: 0800 881 5423 or email info@spirit-healthcare.co.uk
  • The meter shows trends data.
  • Apparently the testing strips are cheaper for the NHS to buy.

Cons

  • The meter and its accessories look and feel cheap. For example the zip off the pouch came off in my hand during my first week of use.
  • It’s around the average size of other meters on the market. But my previous meter was much smaller, making it feel big to me.
  • The screen isn’t colour like my previous meter.
  • The date is set in the American-style format: Month-Date, with no option to switch to UK formatting.
  • No automatic changing of time. You have to manually change time on the meter when clocks go forwards and backwards.
  • The meter has no connectivity to smartphones. It would have been great to have Bluetooth connectivity that put meter readings into a smartphone App.
  • The desktop software just wouldn’t work on my iMac. This meant that I would have to go back to recording results using pen and paper in a logbook. No logbook was provided. This again felt like going backwards, as my previous meter did connect to my computer and download test results and trends data to my iMac.

Although the pros and cons for this meter are equal in number, overall this meter has felt like going backwards for me. The TEE2 Glucose Meter feels really limited when compared to my previous meter and other meters on the market right now.

I really wanted to like the TEE2 Glucose Meter and for it to improve my diabetic self-care. But it hasn’t done this. Instead it’s given me more to remember to do (writing results in logbook).

If you have a choice on which Glucose Meter you use, my advice would be to do your research and choose one that is more sophisticated than the TEE2 Glucose Meter. If you don’t have a choice and have been put on the TEE2 Glucose Meter by your GP or Diabetic Specialist Consultant/Nurse my advice would be not to have too high hopes or expectations for it.

Blog soon,

Antony


I aim for posts on this blog to be informative, educational and entertaining. If you have found this post useful or enjoyable, please consider making a contribution by Paypal:


Share on Social Media:

Health Tech Review: Contour Next USB Glucose Meter by Bayer

By Health, Reviews, TechnologyNo Comments
diabetes-BM-reader-large

Diabetes/Health Illustration Logo.
© Antony Simpson/Sye Watts.

I’m a type 1 diabetic. See my blog post How I was diagnosed with Diabetes to learn more about my diabetes story. Anyway today I’m reviewing the Contour Next USB Glucose Meter.

Sometime ago, I switched to the Contour Next USB Glucose Meter. It was one of the best diabetes-related things I’ve ever done.

The Contour Next USB Glucose Meter is small, easy to use and track trends. There’s so many good things about the Contour Next USB Glucose Meter, that I’ve put together a list of features that I like:

  • It’s small – tiny in comparison to most other Glucose Meters. Something I appreciate and that I imagine others would.
  • It’s easy to use – with it’s big colour display and three options. It’s three options being: Logbook, Trends and Setup.
  • As well as logging blood sugars it has the options to log carbs and/or insulin.
  • USB connection to the computer with java-based software that’s Windows & Mac compatible.
  • Software – That creates great detailed reports in PDF format that you can then share with your GP, Diabetes Nurse, Diabetes Consultant, etc.
  • Both the device and software track trends – the software reports giving much more details on trends.
  • USB charges meter battery – not that in the plus 6 months I’ve had it I’ve needed to charge it.
  • Meter allows you to fill the same strip with extra blood if you didn’t put enough blood in the first time. Rather than starting again.
  • No coding or quality testing required.
  • Finger-pricking device is small.
  • Comes with a slightly bulkier case that keeps everything together – the meter, the testing strips and the finger-pricking device.

Here are some images of the Contour Next USB Glucose Meter:

next-contour-USB-box

Contour Next USB Box

contour-next-USB-glucose-meter

What The Meter Looks Like

PDF-report-screenshot-contour-next-USB-glucose-meter

Sample of PDF Report that the software creates.

The only thing I dislike is that the java-based software can be slow and occasionally crashes. But the benefits the software brings far outweigh these slight annoyances.

Overall the Contour Next USB Glucose Meter is by far the best glucose meter I’ve used. It’s probably the best on the market. An improvement on future models could include connection/communication with Apps that could be used on the iPhone or iPad.

You can Request a FREE Contour Next USB Glucose Meter or Find Out More about the Contour Next USB Glucose Meter here.

Review soon,

Antony


I aim for posts on this blog to be informative, educational and entertaining. If you have found this post useful or enjoyable, please consider making a contribution by Paypal:


Share on Social Media:
×